The Agora Real-Time Messaging (RTM) SDK is perfect for reliably sending low-latency messages to a global audience.
Introduction
In this tutorial, you learn how to create an RTM application where groups of people can connect to the lobby where they can create or join a video chat. The idea is to show how real-time messaging using Agora RTM can be used as an orchestration layer to connect users through small breakout channels, where users can create a video call or drop into an existing video call, using the Agora Real-time Communication (RTC) engine. This tutorial is for iOS (using Swift), but the Agora RTM SDK works in very similar ways across all supported platforms.
Prerequisites
- An Agora developer account (see How To Get Started with Agora)
- Xcode 11.0 or later
- An iOS device running on iOS 13.0 or later
- A basic understanding of iOS development
- Cocoapods
Note: For the full example project, the iOS 13.0 and Xcode 11.0 releases are recommended as a minimum. This is due to the use of a CocoaPod AgoraUIKit_iOS which uses some iOS 13+ features to display local and remote video feeds. If a lower minimum iOS version is required, create the video UI using Agora Video Call Quickstart Guide.
Project Setup
Create an Xcode project for iOS and follow the steps in Agora RTM Quickstart Guide up to and including Integrate the SDK, and do the same in Agora Video Call Quickstart Guide.
If you follow the CocoaPods installation in the quickstart guide, your Podfile will look like this:
# platform :ios, ‘9.0’ use_frameworks!
target ‘Your App’ do
  pod ‘AgoraRtcEngine_iOS’
  pod ‘AgoraRtm_iOS’
end
As a check that your setup is correct, try importing AgoraRtmKit and AgoraRtcKit at the top of any of your Swift files when the .workspace project is open.
Connect to Agora RTM
The first thing you need to do is create an AgoraRtmKit instance. This object allows you to log in to the Agora RTM system.
Note: In the code sample, no token is supplied for login. However, any Agora projects made for production should require a token from the client to connect. See Connecting to Agora with Tokens — Using Swift for more information on how to work with tokens in an iOS project.
Connect to the Lobby
The lobby is a channel where users can get information about all the available channels and see options for joining one.
To connect to a channel like our lobby, you must create an AgoraRtmChannel object and then use this object method to join the channel, like this:
Lobby UI
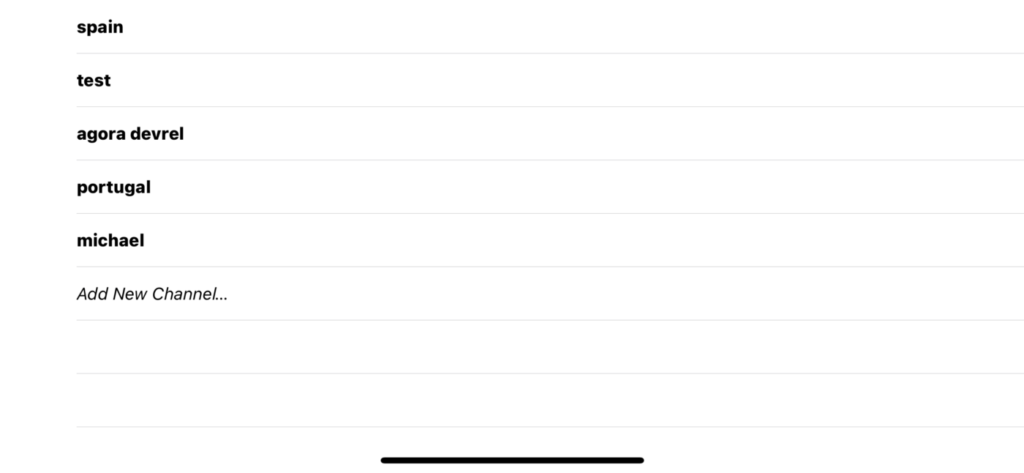
For the lobby UI, I have opted to display all the available channels in a UITableView and added to a dictionary that looks like [channel name: channel data]. For the sake of simplicity, table view shows only the channel name. On tapping, the user joins the channel and waits for enough people before starting a video chat.

An extra entry in the lobby table is added in this example to create and join a new channel. Whenever a new message is received containing data about a new table, the new channel is added to the dictionary and the view is refreshed. Information on how the lobby data sends between users in the RTM network is described in the next section.
The channels could be shown in any format you see fit. This is just the display style used here.
All methods relating to the lobby UI can be found here:

Getting Breakout Channel Data
When connected to the lobby, the user needs to know what channels are currently active. We could get the data in many ways, but in this case our logic works like this:
- User A is already in a breakout channel and receives a callback that user B has joined the lobby.
- User A is the most senior in their channel (more on how seniority is determined later), so they send a message to user B telling them the unique name of their channel, along with the number of users currently in it.
- User B receives the message from user A and one from each other active group.
- The data contained in this message populates the list of available channels.
The breakout channels are displayed in list form (with a UITableView). Upon selecting a channel we can join it by taking the name, creating an AgoraRtmChannel object, and then calling the join method on it, the same way we joined the lobby above.
If user B joined user A’s channel, they can see one other member is there before them (user A), meaning they are not the most senior member of the channel. Whenever another member leaves, user B checks if that member is in the set of more senior members, and removing user A if they are found in the set. When this set is empty, user B knows they are now the most senior and are responsible for sending updates to the lobby channel.
This is the logic that user A in this scenario follows, where they send any breakout room data to user B, who joined the lobby:
There are come helper methods added here, only to make it easier to send ChannelData
Here is how user B can parses the received data:
Turning data into a UITableView is not covered in this tutorial, but there are plenty of resources to do this. You can take a look at the full example project to see how it’s done.
Breakout Video Call
When a new user joins the breakout room, each user adds to the total number of users they can see in the channel and decrement when someone leaves. After the target number of users has joined (let’s say four), the most senior in the group sends a message to all the users containing the name of the video channel to join. The video channel in this case is set to the first eight characters of a UUID string to make sure they are all unique. All the users see this message arrive, and they join the video channel.
If a video session is already going on when another user joins, the user can be sent the code via a direct message instead of channel wide.
Here is how the most senior member detects that it is time to create a video call and sends out the message, as well as how the other members receive it and create their video sessions.
Make sure your user exits the channel when they end the video call. They can join any other video call from there.
To make a video call, I use a CocoaPod called AgoraUIKit_iOS. This is the only part which requires iOS 13. Follow the Agora Video Call Quickstart Guide to create your own UI if you need to target an older iOS version.
To use this pod, add the following line to your Podfile and rerun pod install:
pod 'AgoraUIKit_iOS', '~> 1.0'
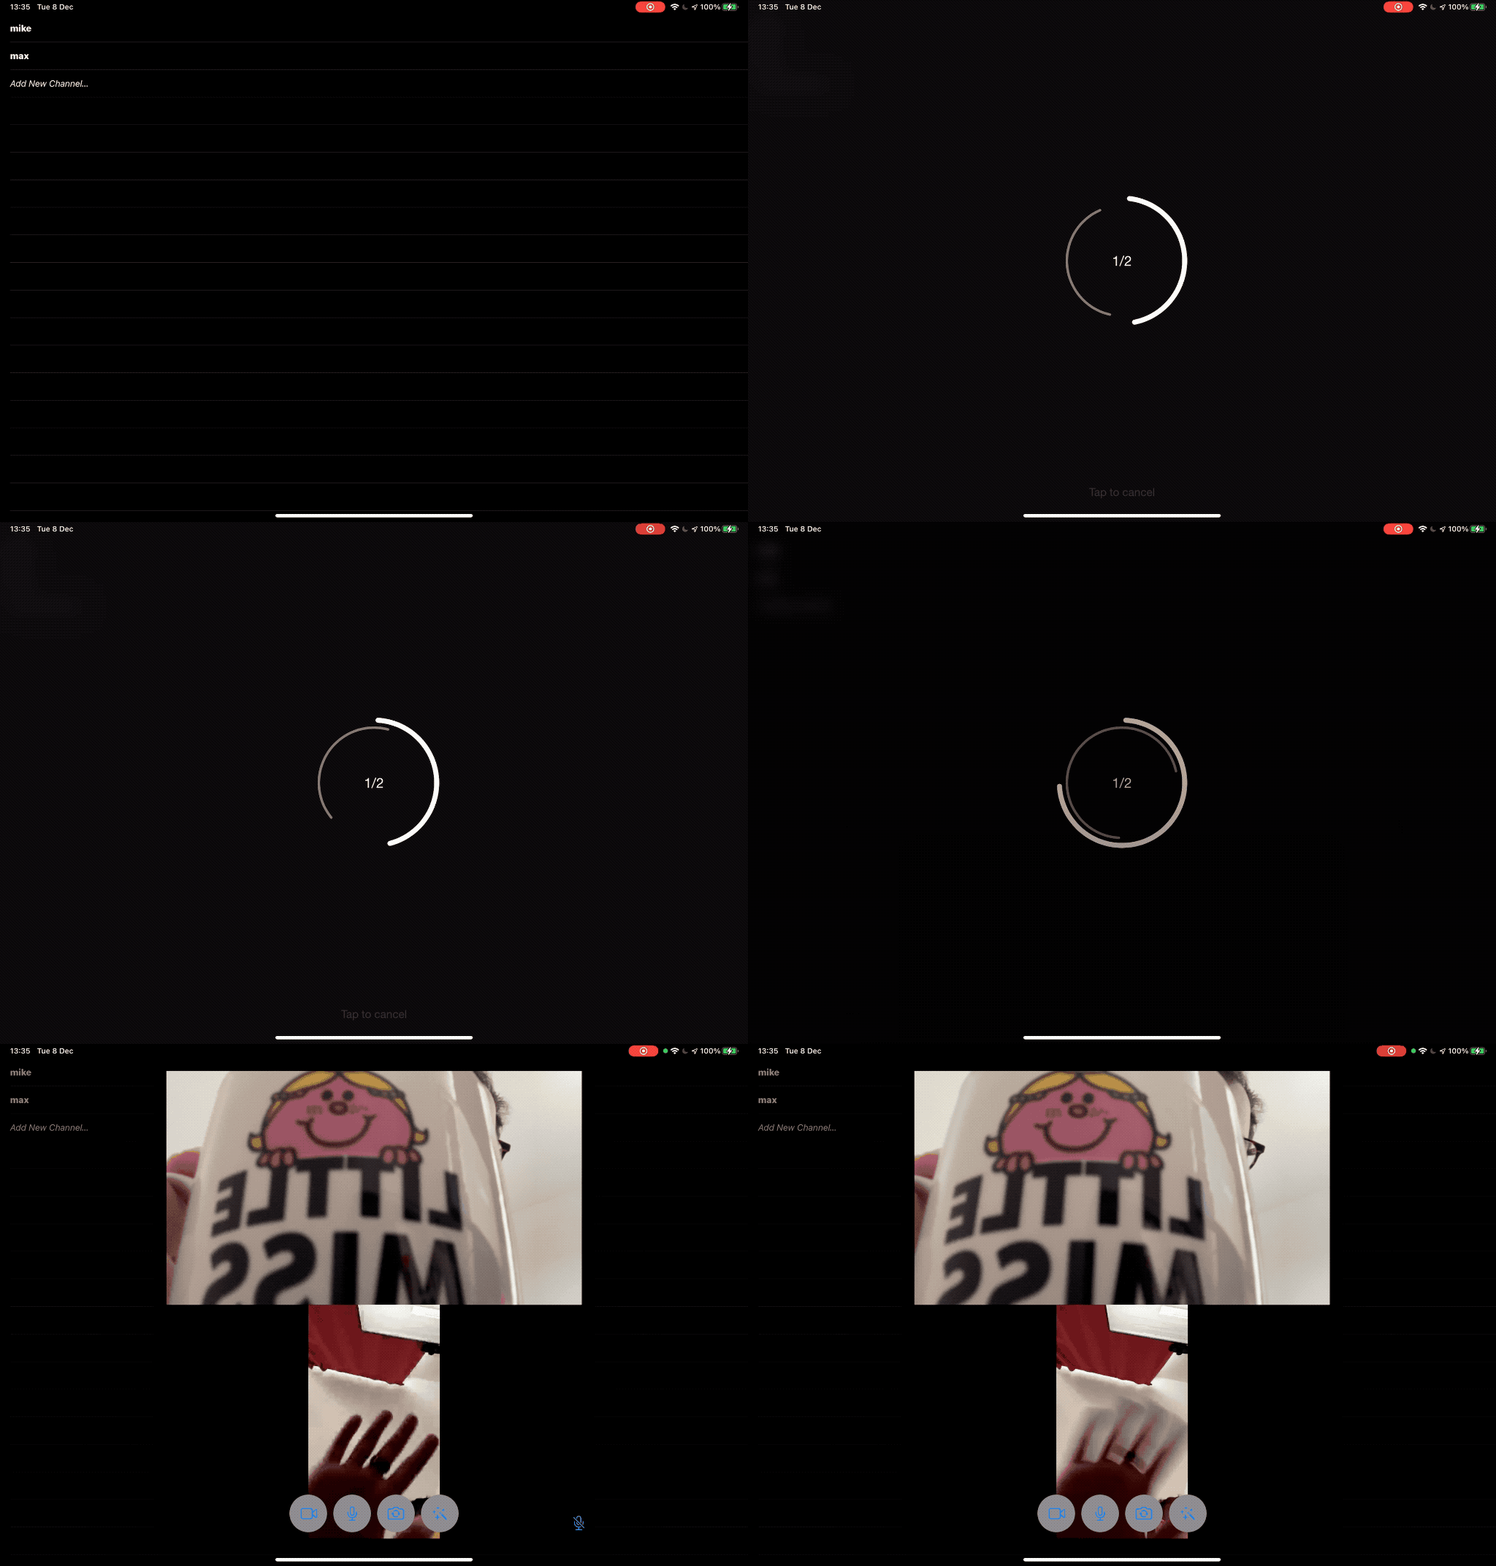
The end result that can be found on GitHub is this:

Testing
Check out the public project, which uses Agora RTM and RTC APIs to create a lobbying plus video conferencing application.

What Can This Be Used For?
The techniques outlined in this tutorial could be used for many different use cases, including a remote classroom for breaking into smaller teams to work through group exercises, virtual conferences for a pre- or post-session lobby, and matching for social gaming.
Other Resources
For more information about building applications using the Agora SDKs, take a look at the Agora Real-time Messaging Quickstart Guide, Agora Video Call Quickstart Guide and Agora API Reference.
I also invite you to join the Agora Developer Slack community.


