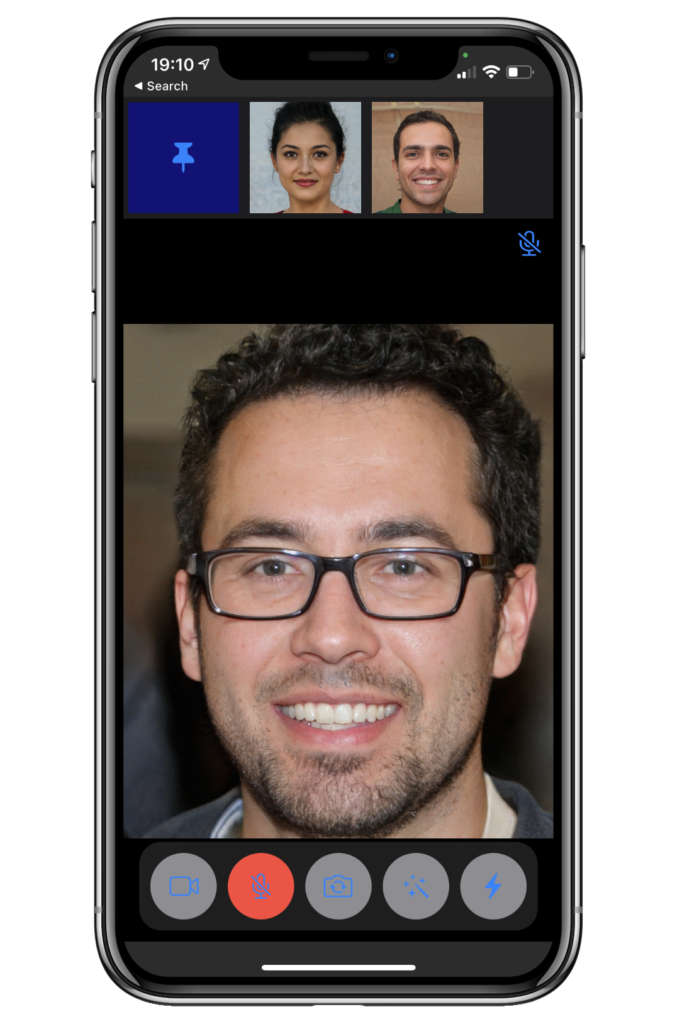
When adding a video chat to your own application, you might not want to read even more documentation. With Agora UIKit, you don’t have to think about much beyond what you already know about building familiar elements, such as a UIView.
This guide is a very short intro to Agora UIKit for iOS. To see the full guide, including code samples for macOS check it out here:

The GitHub repository of this library can be found here:

Create an iOS or macOS project in Xcode, and then install the CocoaPod AgoraUIKit_iOS or AgoraUIKit_macOS. Your Podfile should look like this:
target 'Agora-UIKit-Project' do
  pod 'AgoraUIKit_iOS', '~> 1.5'
end
The latest AgoraUIKit release at the time of writing this post is v1.5.0
Run pod init, and open the .xcworkspace file to get started.
Add authorisation for the app to use the camera and microphone. To do this, open up the Info.plist file at the root of your Xcode project and add NSCameraUsageDescription along with NSMicrophoneUsageDescription.
For more information on requesting authorisation for media capture, check out this article from Apple.
If you want a ViewController that simply loads a video feed, the entire ViewController can look like this:
import UIKit
import AgoraUIKit_iOS
class ViewController: UIViewController {
var agoraView: AgoraVideoViewer!
override func viewDidLoad() {
super.viewDidLoad()
self.agoraView = AgoraVideoViewer(
connectionData: AgoraConnectionData(
appId: <#Agora App ID#>,
appToken: <#Agora Token or nil#>
)
)
// fill the view
self.agoraView.fills(self.view)
// join the channel "test"
agoraView.join(channel: "test", as: .broadcaster)
}
}
That’s all that’s required when using Agora UIKit in the most basic way. However, this does not take tokens into consideration, and tokens are required in production apps using Agora for security.
Tokens are another step that can slow down launching a product with Agora. Several blogs and repositories are available for help with understanding tokens; including a prebuilt token server in Golang, a 2-Click setup guide and information about fetching a token into your Swift app.
With Agora UIKit, you can simply set the tokenURL to the location of your token server, and Agora UIKit will take care of the rest, assuming that it follows the endpoint structures shown in the Golang token server repository. To do so, you will need to define an AgoraSettings object, assign the tokenURL value, and then apply the settings object when creating your AgoraVideoViewer object:
let agoraSettings = AgoraSettings()
agSettings.tokenURL = "https://<heroku url>"
agoraView = AgoraVideoViewer(
  connectionData: AgoraConnectionData(
    appId: <#Agora App ID#>
  ),
  agoraSettings: agoraSettings
)
Now, whenever you’re connecting to a new channel, use the join method that asks for a Boolean fetchToken value, and set that to true:
agoraView.join(
  channel: "test", as: .broadcaster, fetchToken: true
)Creating a production application that uses Agora’s network for video calling is now easier than ever. The same classes and methods seen above can also be added to a macOS application.
You can head over to the Advanced Agora UIKit blog to unlock the full potential of Agora UIKit for iOS and macOS. Many more customisations and enhancements can be made using this library.
For more information about building applications using Agora.io SDKs, take a look at the Agora Video Call Quickstart Guide and Agora API Reference.
I also invite you to join the Agora Developer Slack community.
