Creating a live streaming app for iOS can be difficult, especially if you want to reach a global audience with little to no latency. The Agora Voice and Video SDK is perfect for reliably sending live streams to a global audience with low-latency.
In this tutorial, you learn how to create a live streaming iOS application that enables users to be either a streamer or an audience member in a session. The setup is very similar to creating a regular video call with Agora, with a slight difference of roles: audience and broadcaster.
Note: If you need to target an earlier version of iOS, you can change how the buttons are created in the provided example project.
Let’s start with a new, single-view iOS project. Create the project in Xcode, and then add your Podfile:
platform :ios, ‘9.0’
target ‘Project-Name’ do
    pod ‘AgoraRtcEngine_iOS’, ‘~> 3.1.0’
end
Run pod init, and open the .xcworkspace file to get started.If you want to jump ahead, you can find the full example project here:

In this initial UIViewController, we can just have a button in the center to join the channel. This button will tell the application to open a view on top, enabling us to join as an audience member by default.
The view in this example is very basic, as you can see:

Next, create the ChannelViewController.swift file. This file will contain our UIViewController subclass called ChannelViewController, which displays the Agora pieces. In it, we will store values such as App ID, token, and channel name for connecting to the service, and add a button to change the user role between audience (default) and broadcaster. Also, initialize the Agora Engine with the correct client role. I have also preemptively added remoteUserIDs and userVideoLookup, which will keep track of the broadcasters/streamers.
When userVideoLookup is set or updated, reorganiseVideos is called to organize all of the streamed video feeds into a grid formation. Of course, a grid formation is not required, but if you want to implement the same thing, the reorganiseVideos method is provided in the example project. Here’s a link to it:

The hostButton has a target set as toggleBroadcast. This method is found right at the bottom of the gist. As you can see, it toggles the value of self.userRole between .broadcaster and .audience, and then sets the client role using setClientRole. When the local client starts streaming, additional buttons should appear (for audio and video settings) but those buttons are displayed only after the client role has been changed, which is signaled by the delegate callback.
In the gist above, the ChannelViewController is set as the AgoraRtcEngineDelegate, so we should add that protocol to our class, along with some callback methods.
The main callback methods we need for a basic streaming session are didJoinedOfUid, didOfflineOfUid, didClientRoleChanged, and firstRemoteVideoDecodedOfUid.
As mentioned in the gist, the didClientRoleChanged is the callback for when we have changed the local user role to broadcaster or audience member.
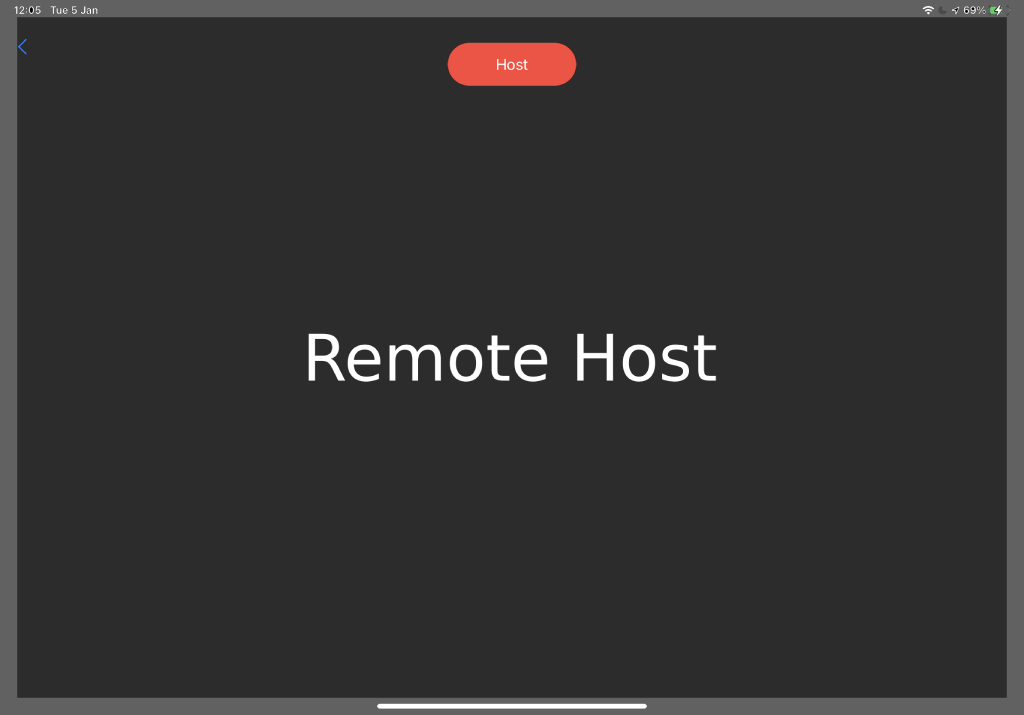
If a remote host is streaming to us, the nonhosting view should now look like this:

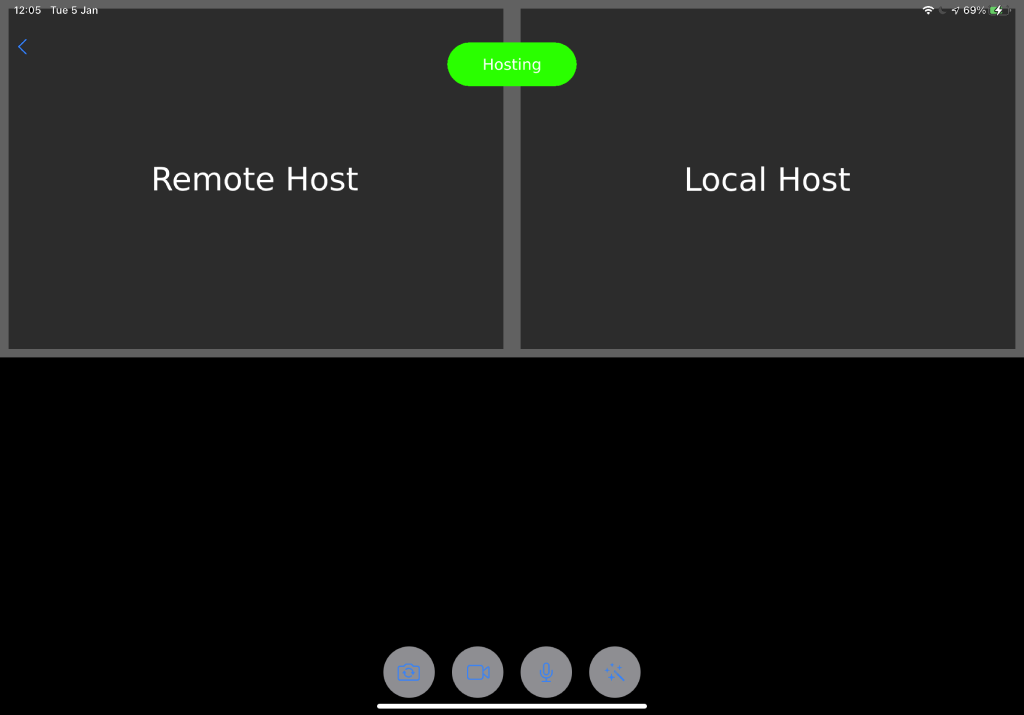
When the user is streaming, they should have additional options, including the ability to switch between the device’s front- and back-facing cameras and turning the camera or microphone on and off. In this case, a beautification toggle is added. To show and hide these options, the isHidden property of the button container is set to false or true, respectively.

In your application you may not want anyone to be able to start streaming. You could easily achieve this by requiring a password in the app (a static password or one authorized by a network request). Or you could offer separate apps for hosts and audience members.
For more information about building applications using Agora SDKs, take a look at the Agora Video Call Quickstart Guide and Agora API Reference.
I also invite you to join the Agora Developer Slack community.
