
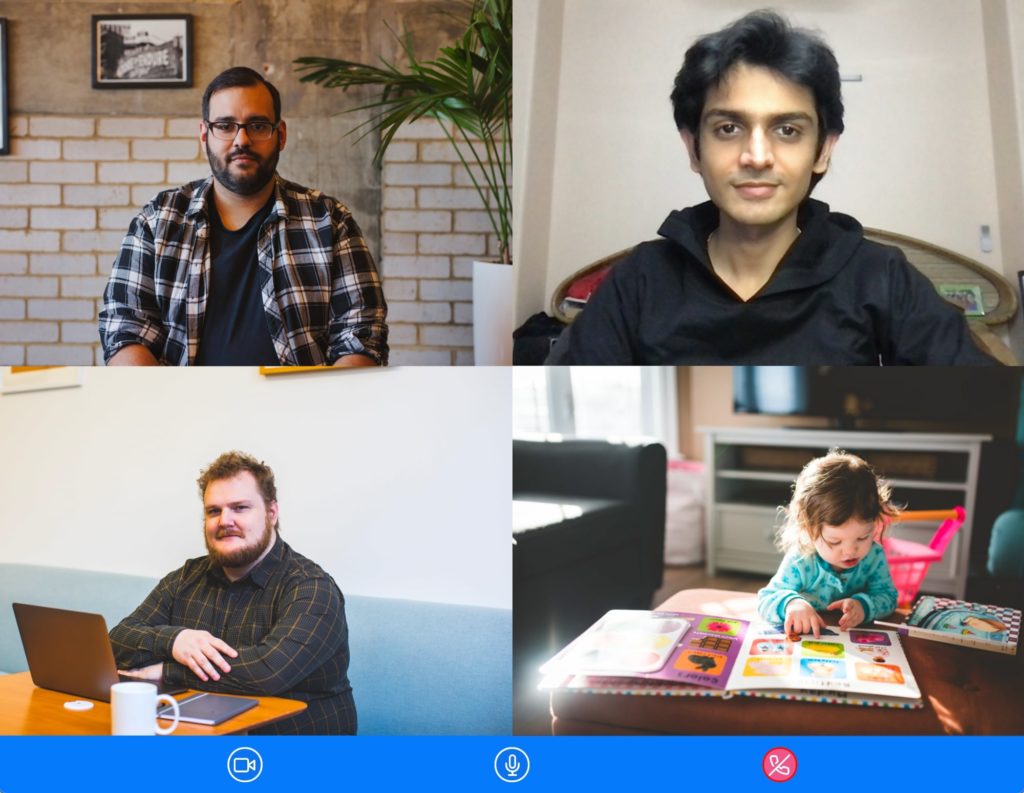
When you’re building a live video streaming or a video conferencing website with Agora, a few technical steps might slow you down. Now with the Agora Web UIKit, you can easily add video calling to your website with just five lines of code! It’s fully featured to boot, and it comes with easy customization and is meant to be extended.
You can read the release blog. If you want a deeper technical dive, read on!
Features
- Support for video conferencing and live streaming
- Plug and play, no watermark or branding out of the box
- Responsive layouts for desktop and mobile
- Customizable UI and functionality using React properties
- Automatically manage tokens (using two-click server deploy)
- Dual-stream mode and active speaker detection
- Built using modular functional components that can be recomposed
- TypeScript support, with no third-party dependencies
- Support for use as a web component
- 10,000 free minutes every month
The Agora Web UIKit is built on React. If your website uses plain JavaScript or a different framework like Svelte, Vue, or Angular, you can use the UIKit as a web component! You can skip to the last section to learn more.
Prerequisites
- An Agora developer account (It’s free – sign up here!)
- Node.js LTS release
- A website built using React
- A modern web browser
Setup
You can get the code for the example on GitHub. To create a React project with Typescript, you can open a terminal and execute:
npx create-react-app demo --template typescript
cd demo
Or you can use your own project. Install the Agora Web UIKit from NPM:
npm i agora-react-uikitNote: At the time of writing this post, the current agora-react-uikit release is v0.0.5, and the current agora-rtc-sdk-ng release is v4.8.1.
That’s the set up. You can now run npm start to start the React server and visit the hello world app on localhost:3000.
Adding Video Streaming
This UIKit is easy to set up and contains a high-level component called AgoraUIKit. The component handles the logic and UI for our real-time video experience. We can pass in props to the component to customize the behavior and functionality. Let’s clear the App.tsx file and start writing the code to build a video chatting app:
We’re importing the AgoraUIKit component from the agora-react-uikit package. Inside the App component we have a state variable videoCall. We’ll render the UIKit component when it’s set to true and unmount it when it’s false. We define the Agora App ID and channel name in the rtcProps object along with our role. Users on the same channel can communicate with each other. You can use any alphanumeric string for the channel name.
Note: If your app is in secure mode, you can generate a token from the Agora console and pass it in for testing. We’ll talk more about how to use tokens in a bit.
The callbacks object contains RTC events as keys and callback functions as their value — we use the EndCall event to update the state and unmount the AgoraUIKit component:
In the return statement, we render the AgoraUIKit component with the rtcProps and callbacks object. (Unmounting the AgoraUIKit component performs the required cleanup automatically.)
The UIKit component also accepts a third prop, called styleProps, which can be used to customize the look of the application by writing React styling. You can override the default styles for each piece of the UIKit (such as buttons, videos, and containers) with your own.
What About Live Streaming?
We have a video conferencing website ready to ship. But let’s now take a look at how to convert this to a live streaming app where the users can join either as a host or an audience member. Hosts can share their audio and video to everyone in the channel, while audience members can only receive video and audio from other hosts:
Let’s add two new state variables: isHost and isPinned. The isHost variable will track whether the user is a host or audience, and the isPinned variable is used to switch between the two prebuilt layouts:
We can use our state to define our rtcProps. We added the role prop to the rtcProps switch between host and audience (by default the role is host). The UIKit props are dynamic. If you update the state that’s passed as a prop, the UIKit will react to it (like the standard React design pattern). We’re changing the background color of the bottom bar using styleProps so that we can see how that works as well:
We’ll update our UI to add buttons that toggle our state. We’ll also add the styleProps to the UIKit. Instead of returning null when our video call state is false, let’s add an <h3> tag to start the call once the call has ended by updating our state.
Here’s the updated styling if you want to follow along:
Customizing Functionality with RtcProps
The RtcProps object lets you customize how the UIKit works. You can select features and layouts. And there’s a growing list of things to customize using RtcProps. The object type definition can be found here.
Token Management
If you’re using the Agora Web UIKit in production, we strongly recommend using tokens to secure your app. There are two ways to use them: You can supply a token manually to the UIKit with the token property if you already have a token server set up.
If you don’t have a token server, you can use the tokenUrl property. This can be used to automatically fetch a new access token for the channel and renew it if it is going to expire soon. The functionality for requesting a new token expects the token to follow the URL scheme in the prebuilt Golang token server found on GitHub: AgoraIO-Community/agora-token-service. You can deploy it in two clicks to Heroku using this link.
Using the Web UIKit Without React
The Agora Web UIKit is also available as a web component to be used with websites built with vanilla JavaScript or a framework like Angular, Vue, or Avelte. To add video calling to your website, just import the web component as a script. You can then use the web component in your DOM by passing in your Agora App ID and channel name:
You can access the web component element in JS and update object properties. This lets you programmatically update props, which can be useful in building your buttons to update the user role in a live stream, for example. You can add event listeners for the end call button to handle what happens when the user clicks that button. We’re looking forward to your feedback, you can open a feature request for us to add more RTC events to the web component release.
There are a few limitations with web components for now. Everything we’ve talked about so far is supported, but the next section is React-specific. We’ll keep adding features and supporting this version of the UIKit alongside the react release, based on your feedback.
Advanced: Recomposing the UIKit
If you need finer control or want to build a custom layout for your application that the AgoraUIKit component doesn’t support yet, you can extract and use individual components that make up the UIKit and recompose them together to build your own custom solution without worrying about managing the SDK.
The UIKit isn’t limited to using the AgoraUIKit component. It’s a high-level component made up of several other modular components, which makes it easy to get started. You can import and use the individual pieces to compose your app.
RtcConfigure
The RtcConfigure component contains all the logic for the video call. It handles all the SDK events and maintains the state for the application. You can wrap the other UIKit components inside the RtcConfigure component to get access to user objects.
It also sets the RtcContext, which can be used to access the Web SDK client object and mediaStore which contains the remote tracks and the local tracks (as well as the dispatch function to mutate the state).
TracksConfigure
The TrackConfigure component handles creating audio and video tracks for the app.
Controls
The UIKit exports a LocalControls component that wraps LocalAudioMute, LocalVideoMute, and EndCall button components. The library has a RemoteAudioMute, a RemoteVideoMute, and a SwapUser (swaps the user with the maxUser) buttons. These components accept the user object as a prop.
Note: The remote controls mute the remote user’s audio and video only locally. The change isn’t reflected for anyone else on the call.
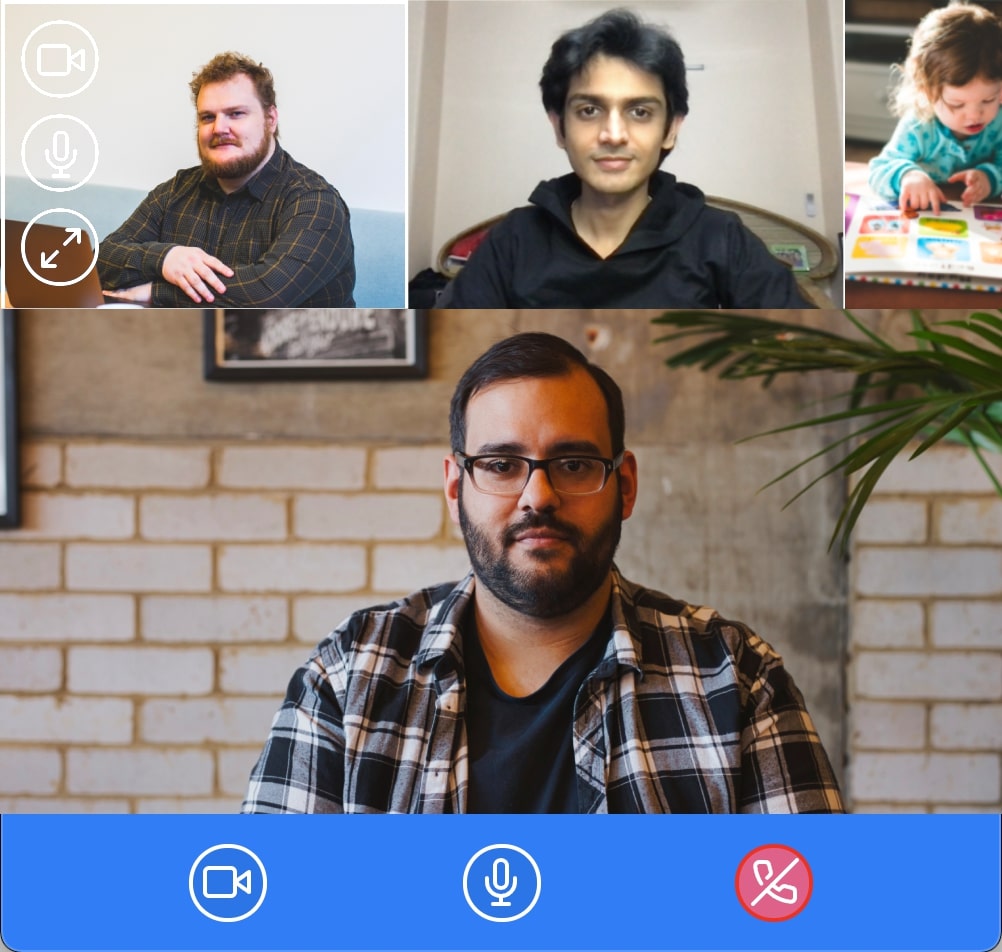
Video Views
To render the video of a user, we have two components: MaxVideoView and MinVideoView. Both require a user object as a prop. The user data is divided into two different arrays: MaxUser and MinUser. The MaxUser array always contains only one user; the other users are contained in the MinUser array. In the case of a pinned layout, we can use one array to render the big view and the other to render the video list. You don’t have to interact with the state directly. For example, if you want to swap a user, you can use the SwapUser button, which will internally mutate the state.
We also have the gridLayout and pinnedLayout components available if you don’t want to build your own layout using the views.
Props Context
PropsContext uses the React Context API, which gives you access to the provider and consumer components. Together, these let you access the props that we pass to this component elsewhere in the component tree. The library uses this to pass rtcProps, styleProps, and callbacks around the component tree.
User Contexts
The MaxUidContext gives you access to an array containing an object for the user in the MaxView (main view in the floating layout). The MinUidContext gives you access to an array of objects for the users in the MinView (top floating view in the floating layout). The LocalUserContext gives you access to the local user’s state.
Example of Recomposing
Let’s see all these components in action by building our own high-level component. The following example omits trivial details for clarity and ease of explanation (like defining props and styles). You can look at the AgoraUIKit component if you need more information.
We wrap our application in <PropsProvider> to give the other components access to the props. If the user is a host, we wrap the <VideoCallUI> in the <TracksConfigure> component that creates and passes along the microphone and camera tracks.
The <VideoCallUI> is wrapped by <RtcConfigure>, which contains all the logic for our video call or live stream and also sets up the local or remote user state. We render the control bottom bar using <LocalControls> next to the <RenderVideos> component that accesses the user contexts and renders the videos using the <MaxVideoView> component mapping over each user.
Conclusion
We’re looking forward to your contributions. If you have a feature request, please open a pull request. If you find a bug, please report it on GitHub issues. We also have similar UIKits for Android, iOS, React Native, and Flutter, so be sure to check those out as well.
If you have questions while using the Web UIKit, I invite you to join the Agora Developer Slack community, where you can ask them in the #web-help-me channel. Feel free to open issues for feature requests or to report bugs on the GitHub Repo. Or you can reach out to me on Twitter.


